This guide shows how to setup Python on a Google VM Instance so you can keep multiple bots running 24/7. It’s relevant for the existing and new scripts I’m planning to publish in the next week or two. Here’s the full step by step guide to make it as easy as possible.
This guide will walk you through how to setup the VM instance, install all the required dependencies, and how to install the code from Github. I’ll even cover how to use Tmux so the scripts run continuously, and how to run multiple scripts on the same instance.
Just in case you’re wondering what a VM instance is, think of it as a regular computer – a cpu, some RAM, a hard drive, and an operating system. It is however, virtual. It’s like a shared host – so you get a portion of the resources available from a larger server – though it runs independent – like it’s own separate linux computer.
UPDATE: If you’re having issues setting up the server, or don’t want to, or think you can’t, I now offer a setup service to help or completely setup the server for you. More details on this service here.
Setup a New VM Instance on Google Cloud
We’ll use Google Cloud to setup our instance. Head to cloud.google.com.
If you’re not logged in or don’t have an account click on Get Started. If it’s your first time using google cloud services you might qualify for some free credits which might help to fund the cost for the first few months. In that case the button will say Get started for free.
Again, if it’s your first time, complete the sign up process, payment details, etc.
If you’ve used the service before/have an account, after you log in click on Go to Console, or head to console.cloud.google.com.
On the left side of screen hover over Compute Engine, and click on VM Instances.

If you’ve never setup an instance before, click on Enable.

Click on Create Instance.

Set a name for your instance, or leave the default, it’s not important. The Region and Zone can be left as the defaults, again, not important. Under Machine Configuration in the Machine type dropdown, choose the e2-micro option. We don’t need much power for these scripts, and the e2-micro is plenty! You’ll also notice your monthly estimated cost in the top right update to a lower amount. This will be the max, it’s usually less.

Scroll down to Boot disk, click on CHANGE, and change the version to Debian GNU/Linux 11 (bullseye). This version includes a more recent version of Python, saving us having to install it.

Scroll down to the bottom and click on Create.

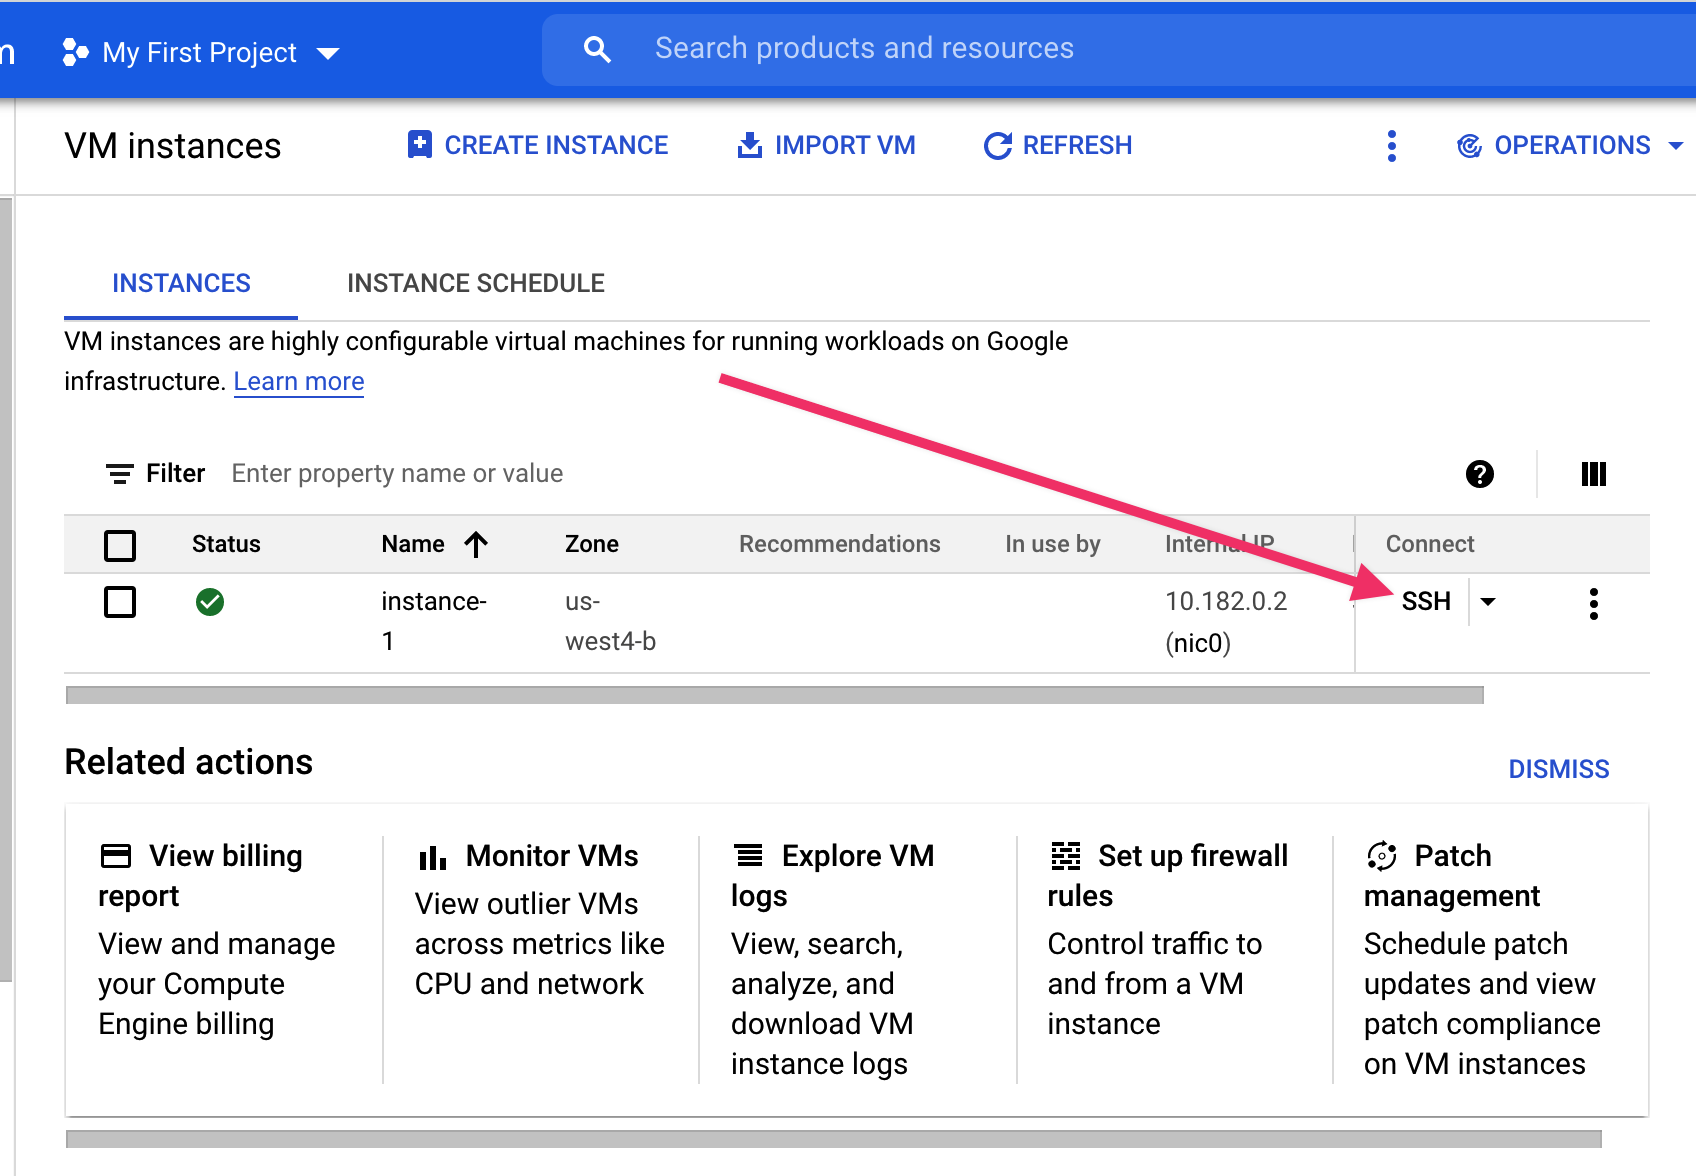
After it’s created you’ll be redirected to the VM Instances page with a list of your instances, including the newly created one. Click on SSH to launch the shell window.
When the shell window launches and connects, and the prompt appears, we’re ready to install the dependencies.
Install Dependencies for Automated Trading Bots
In this section we’ll install all the required dependencies and libraries needed for the Python scripts I create to run. You can copy and paste the commands below to execute them, or re-type in the shell window. As you go through these you may be prompted from time to time with question if you want to continue – choose y, and press enter.
First get an update of packages:
sudo apt-get update
Then install wget as this isn’t installed by default:
sudo apt-get install wget
We’ll then need build-essential to add a c compiler:
sudo apt-get install build-essential
Next we need to build and compile the full open source TA Library:
sudo wget http://prdownloads.sourceforge.net/ta-lib/ta-lib-0.4.0-src.tar.gztar -xzf ta-lib-0.4.0-src.tar.gzcd ta-lib/./configure --prefix=/usrmakesudo make install
Install tmux:
sudo apt-get install tmux
And let’s make sure the latest pip version is installed:
sudo apt-get install python3-pip
Make sure we have the latest setuptools for subsequent library installations:
pip3 install --upgrade setuptools
Install the TA-lib wrapper:
pip3 install TA-lib
Install pandas_ta:
pip3 install pandas_ta
The CCXT library:
pip3 install ccxt
The Py3cw library:
pip3 install py3cw
…and finally the unzip tool:
sudo apt-get install unzip
And that should be it! Now let’s install the script.
How to Install and Setup Python Automated Trading Scripts
This section is more general, and each script installation might be slightly different but I’ll cover any changes for each script in the readme file or in the post for each one. Since there was no guide for the breakout script, I’ll use that as an example here.
The first step is to get the zip file of the code. This is in the main code repository in Github. In this example, we’re installing the code for 3commas-ftx-triggers. Click on the Code button then right click on Download ZIP to copy the link to the file.

Back in the shell terminal window make sure you’re in the root folder, and type:
cd and hit enter.
Now type in wget plus the url (you can paste the url), like this:
wget https://github.com/nickpagz/3commas-ftx-triggers/archive/refs/heads/main.zip
This will copy a file called main.zip to the current folder. Unzip it:
unzip main.zip
This will unzip the contents into a folder and name the folder something like 3commas-ftx-triggers-main. It’s not necessary, but let’s rename it – to make things easier. To confirm the name of the unzipped folder, use the command ls. Then change the name:
mv 3commas-ftx-triggers-main 3commas_bot
Now you’re ready to add your details to the config file. Go into the folder to setup the config.py file.
cd 3commas_bot – or whatever name you gave it.
Use the ls command to make sure we’re in the correct folder – you should see the example.config.py file listed. Change the name of example.config.py to config.py:
mv example.config.py config.py
Now you can edit the file to enter your FTX and 3Commas account details and API keys. I use the default nano editor for this. It’s very basic and odd controls, but it works for what we need.
sudo nano config.py …to open the file.
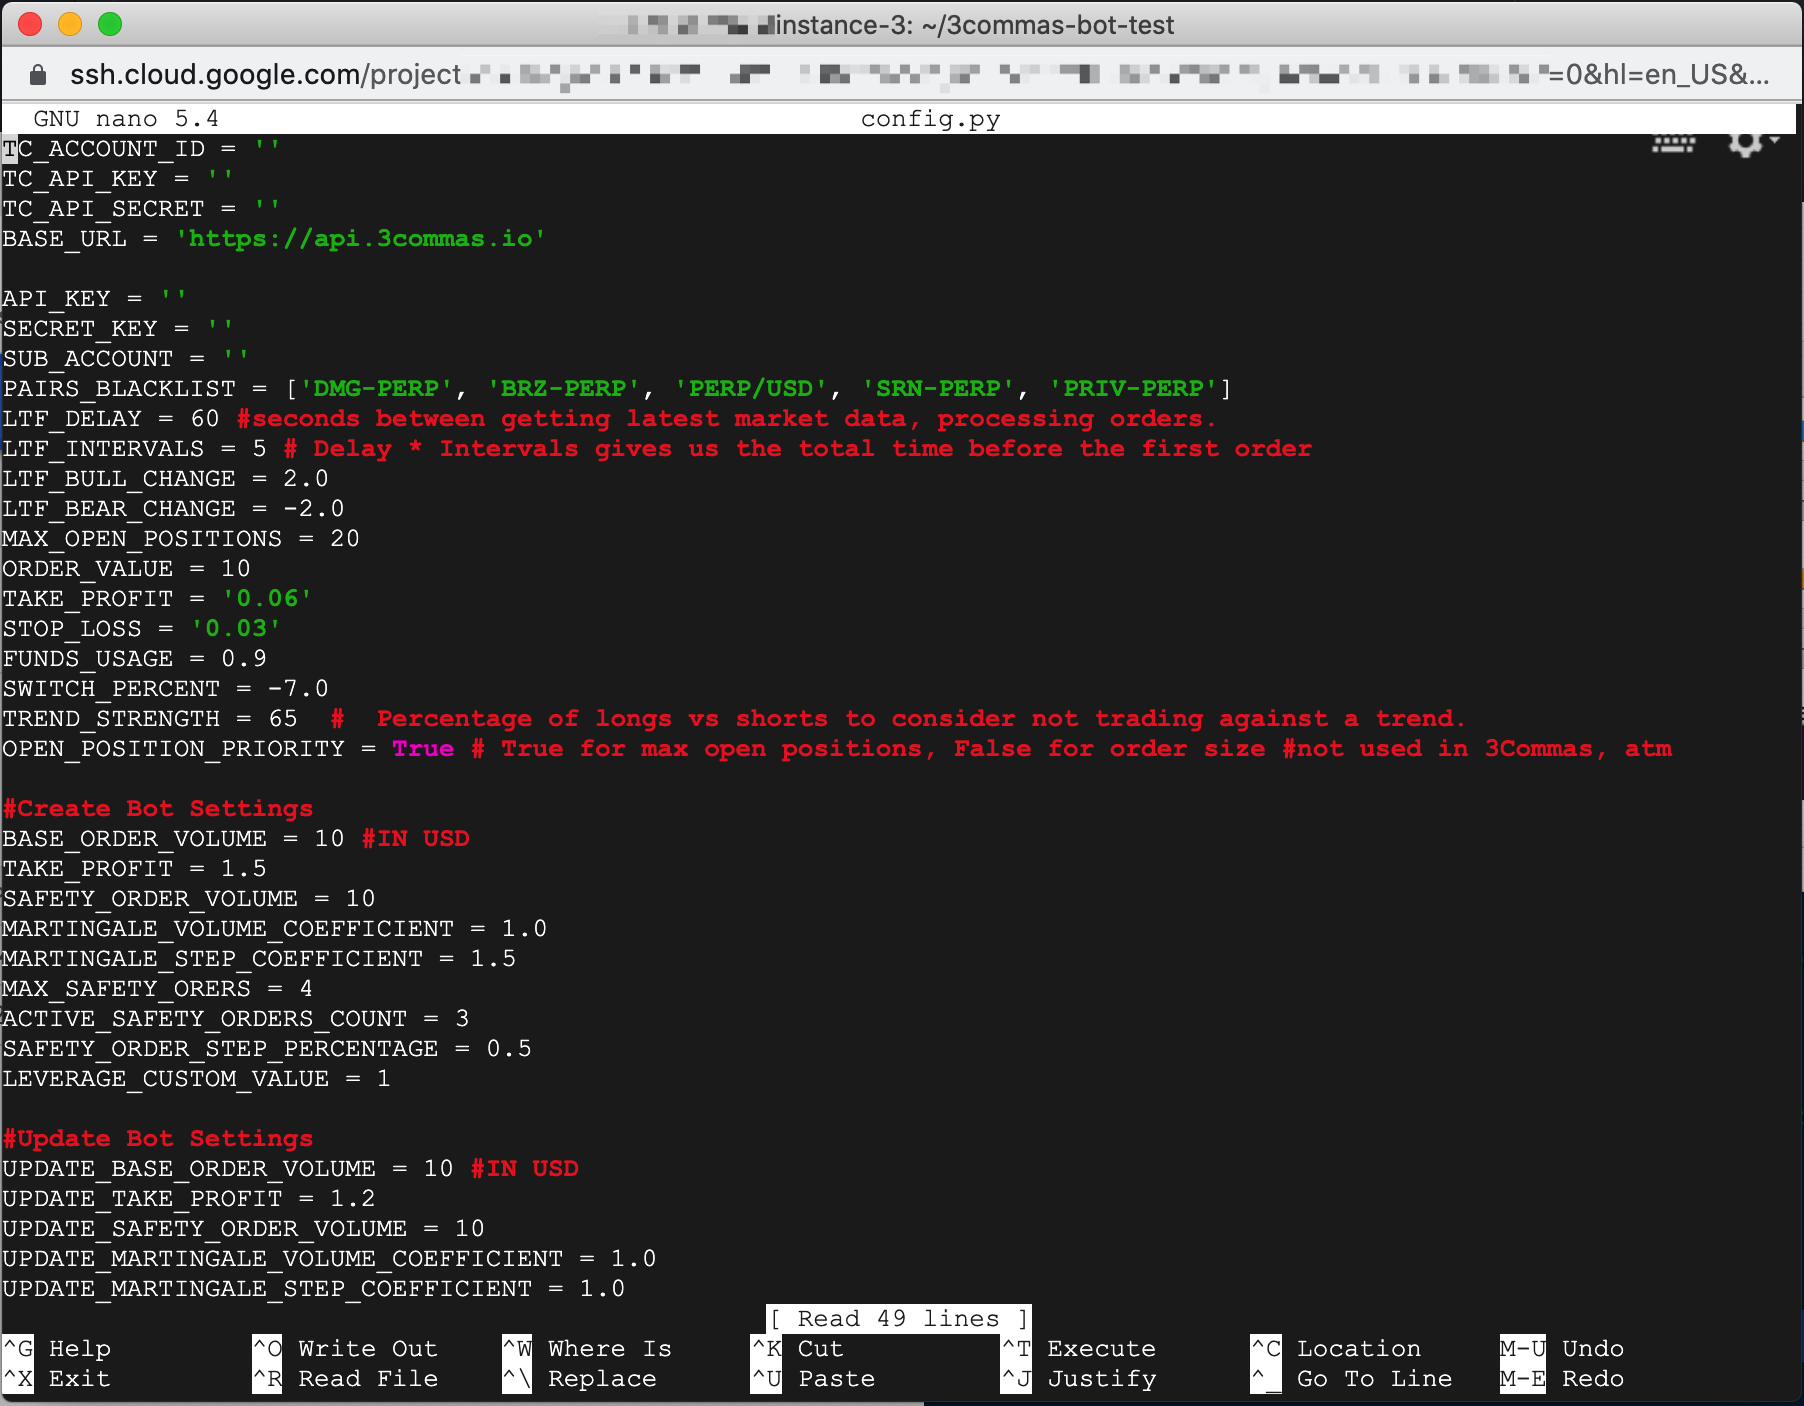
Add your details, then press ctrl+x to save and exit. There’ll be a couple of prompts, and all you need to do is type y and then press enter save the changes and exit.
You should now be ready to setup the 3Commas bots or run the script as outlined in the post.
Read the section below on how to finally run the scripts 24/7.
How to Run the Automated Trading Scripts 24/7 using Tmux
Tmux is a command line program that lets you run and manage multiple sessions. We’ll use Tmux to do two things, first and foremost to ensure our script continues to run if/when we close the shell window or lose connection to it. The second thing we use it for is allowing us to run more than one script.
The basic operation of Tmux is to create a new session, enter the session, and launch our script. We can then exit, kill, or switch between these sessions as needed.
Using Tmux to Run Our Scripts
First start a new session. To do this use the command:
tmux new -s session-name
You could just use tmux new, but it’s far easier to recognize your sessions or remember what is running in the session if you name it appropriately. In this example, our session would be called session-name. Ideally, something like breakout-bot would be more appropriate. After you create the new session you’ll automatically be in the session, seeing a new prompt. From here we can run our bot script as we would in a normal shell window.
To exit out of the session and keep it running we use a series of keystrokes:
ctrl+b …then press d.
These don’t have to be pressed at the same time. First the ctrl+b, release, then press d.
d stands for detach – so we’re detaching from the current session, but it remains running in the background. After this we’ll end up back in the regular shell.
Let’s create another session, for another bot we want to run, for example.
tmux new -s adx-bot
We’ll enter a new shell window where we can now run another script. Note the session name at the bottom of the window.

While we’re in the man shell window we can check for open sessions by using:
tmux ls

Then you can attach yourself to one of those sessions using this command:
tmux a -t session-name
To kill a session, while you’re in the session, press ctrl+b, then press x. Confirm with a y, and the session will be killed and you’ll be returned to the main shell window.
That’s really the basics and about all the commands we need for our purposes. Tmux does have a lot more features, like split screens, sending commands to all sessions, etc. There’s a good guide here if you’re interested in learning more.
What’s Next?
Hopefully that gives you a comprehensive enough guide on how to setup and configure a server on the cloud to run one or multiple scripts 24/7, how to switch between those scripts (sessions, using Tmux), and how to install the python scripts from Github.
If I’ve missed anything important, or some of the steps don’t work or have changed, please include it in the comments and I’ll do my best to get this updated for you.
Stay up to date on all the posts and how-to’s, Subscribe!

Hey Nick
Another great write up. Have you considered hosting your code on Oracle Cloud Infrastructure Always Free Tier? They give you 2 free VMs and ample storage and network to do what your scripts do.
LikeLike
I haven’t but I definitely will now, thanks for the tip!
Not that the $7 per month on Google VM isn’t to bad either though 😉
LikeLike
If you do host on OCI please do another write up…I think others could benefit from such a write up since they can do stuff for free. I agree $7 isn’t a lot but why spend $ when you don’t have to.
LikeLike
How to fix this error : no existing bot ID files found, proceeding….
Error: {‘error’: True, ‘msg’: “Other error occurred: record_invalid Invalid parameters {‘pair’: [‘No market data for this pair’]}.”}
Traceback (most recent call last):
File “/home/aipythonbots/PythonTest/Py3c_create.py”, line 175, in
build_bots()
File “/home/aipythonbots/PythonTest/Py3c_create.py”, line 150, in build_bots
longbot_list, no_long_bots = generate_long_bots(pairs_list, min_price)
File “/home/aipythonbots/PythonTest/Py3c_create.py”, line 81, in generate_long_bots
bot_list[key] = data[“id”]
TypeError: ‘NoneType’ object is not subscriptable
LikeLike
He Nick, great stuff. Where can I ask you a technical question and I got stuck installing your script. Thank you very much
LikeLike
You can ask here! Hopefully I’ll have a discord server setup soon, but in the meantime here is good as any 🙂
LikeLiked by 1 person
Okay thanks Nick. I have no experience with Python. and i got stuck with installing your script. Hope you can help me. May be i can mail you with screenshots? is contact@onepercent.blog the correct mail.
LikeLike
Yep, that’s it.
LikeLike
thanks Nick I mailed it again hope you can help me
LikeLike
Hi,
I get an error when I want to install the TA-lib file. Failed building a wheel for TA-lib.
How can I resolve this?
Regards
Freek (newbe)
LikeLike
Can’t get in the ssh drop down Nick. Pop-up blocked
LikeLike